The new design is signed off, the new system is installed and the launch date is set. A few days after go-live, organic traffic has halved, Search Console is filling up with 404s, and pages that sat on page one for years have vanished. In website migrations, the expensive mistakes are rarely about design. They're about old URLs that nobody planned for.
The good news is that almost all of that loss is avoidable. The trick is to treat the migration not as a design project but as a URL and signal transfer project. Below is a three-phase website migration SEO checklist you can use for a domain change, a platform switch or a site restructure.
TL;DR: before the move, list every old URL, record your current performance and map each old URL to exactly one new one. On launch day, check your 301s, robots.txt, noindex tags, canonicals and sitemap, and if the domain changed, use Search Console's Change of Address tool. In the weeks after, watch 404s and indexing. Keep redirects in place for at least a year, and longer if you can.
Types of migration and how risky they are
Not every migration carries the same risk. The more you change at once, the harder it becomes to pin down what went wrong.
| Migration type | What changes | Risk |
|---|---|---|
| Protocol change | http to https | Low |
| Redesign | The look changes, URLs stay the same | Low to medium |
| Platform (CMS) change | The system underneath, often the URL structure too | Medium to high |
| URL structure change | Categories, slugs or language prefixes | Medium to high |
| Domain change | Every single URL | High |
| Site merger | Two sites' content under one domain | High |
Where you can, split big changes into stages. Switching domain, platform and URL structure on the same day makes it close to impossible to tell which change caused a traffic drop.
Phase 1: Before the migration
1. Build a complete inventory of old URLs
Everything rests on a list of every URL on the old site. No single source is enough, so combine several:
- a full crawl with a site crawler;
- your existing XML sitemaps;
- pages that get clicks in Search Console's Performance report;
- landing pages in your analytics tool;
- URLs that earn links from other sites.
This is the step where old pages that dropped out of the menu, yet still earn links and traffic, tend to surface.
2. Benchmark current performance
Record organic traffic, your top landing pages, rankings for the keywords that matter and the number of indexed pages. Without that baseline you can't answer the one question everyone will ask after launch: is it better or worse than before?
3. Create a URL mapping
Give every old URL exactly one new URL. The rule is simple: each old page goes to the new page closest to it in content. Don't bulk-redirect pages without an equivalent to the home page; search engines read that as a loss, not a move. For content that genuinely has no replacement, a 404 or 410 is the honest answer.
The strongest migration strategy of all is to not change a URL wherever you can avoid it. If the new system can reproduce your old URL structure exactly, the number of redirects you need drops sharply.
4. Keep content and SEO parity
- page titles and meta descriptions;
- heading hierarchy (H1, H2) and body copy;
- image alt text;
- structured data (JSON-LD);
- language versions and hreflang pairs on multilingual sites;
- internal links.
Trimming copy or merging important pages in the redesign should be a deliberate decision, not a side effect of the move.
5. Keep the staging site out of search
An indexed staging site creates duplicate content before you've even launched. Password protection is the safest option. If you used noindex or a robots.txt block instead, put "remove it at launch" at the very top of your checklist; forgetting it is one of the classic migration failures.
Phase 2: Launch day
- Switch on your 301s and spot-check URLs from the mapping one by one. Make sure the status code is 301, not 302.
- Check for chains: if older redirects exist, even the oldest URL should go straight to the final destination.
- Check robots.txt: no line blocking the whole site should survive.
- Check noindex tags: a leftover noindex from staging can take your entire site out of the index.
- Check canonicals: they should point to the new URLs on the new domain.
- Settle on one URL format: depending on your
httpsandwwwchoice, every other variant should 301 to the main address. - Submit your XML sitemap: add the sitemap with the new URLs in Search Console.
- Verify in Search Console: verify the new domain and, if the domain changed, run the Change of Address tool from the old property. It's for domain moves only, not for protocol or URL structure changes.
- Analytics and tag manager: confirm tracking works on the new site, or you won't be able to tell a real traffic drop from a measurement gap.
Phase 3: After the migration
- Watch 404s daily: URLs missed in the mapping show up as 404s in the first weeks. Redirect them, starting with the most requested.
- Track indexing: the Pages report in Search Console shows new URLs being indexed and old ones being recognised as redirects.
- Compare performance: measure traffic and rankings against your baseline. A few weeks of fluctuation is normal; a lasting drop points to a problem in specific groups of pages.
- Update external links: ask the sites that send you your most valuable links, plus your social profiles and directory listings, to update their URLs.
- Hold on to the old domain: if the domain changed, keep renewing the old one. An expired domain takes every redirect down with it.
- Keep the redirects: Google recommends at least a year; keeping redirects that still get traffic indefinitely is the safest course.
The most common migration mistakes
- a noindex tag or robots.txt block left over from staging;
- redirecting every old URL to the home page;
- using 302s instead of 301s;
- migrating only the pages in the menu and forgetting old pages that still earn links;
- mapping only the main language on a multilingual site and skipping the others;
- not recording performance data before the move.
How Sem CMS helps when you migrate to it
When a project moves to Sem CMS, a good part of this checklist is handled from the panel.
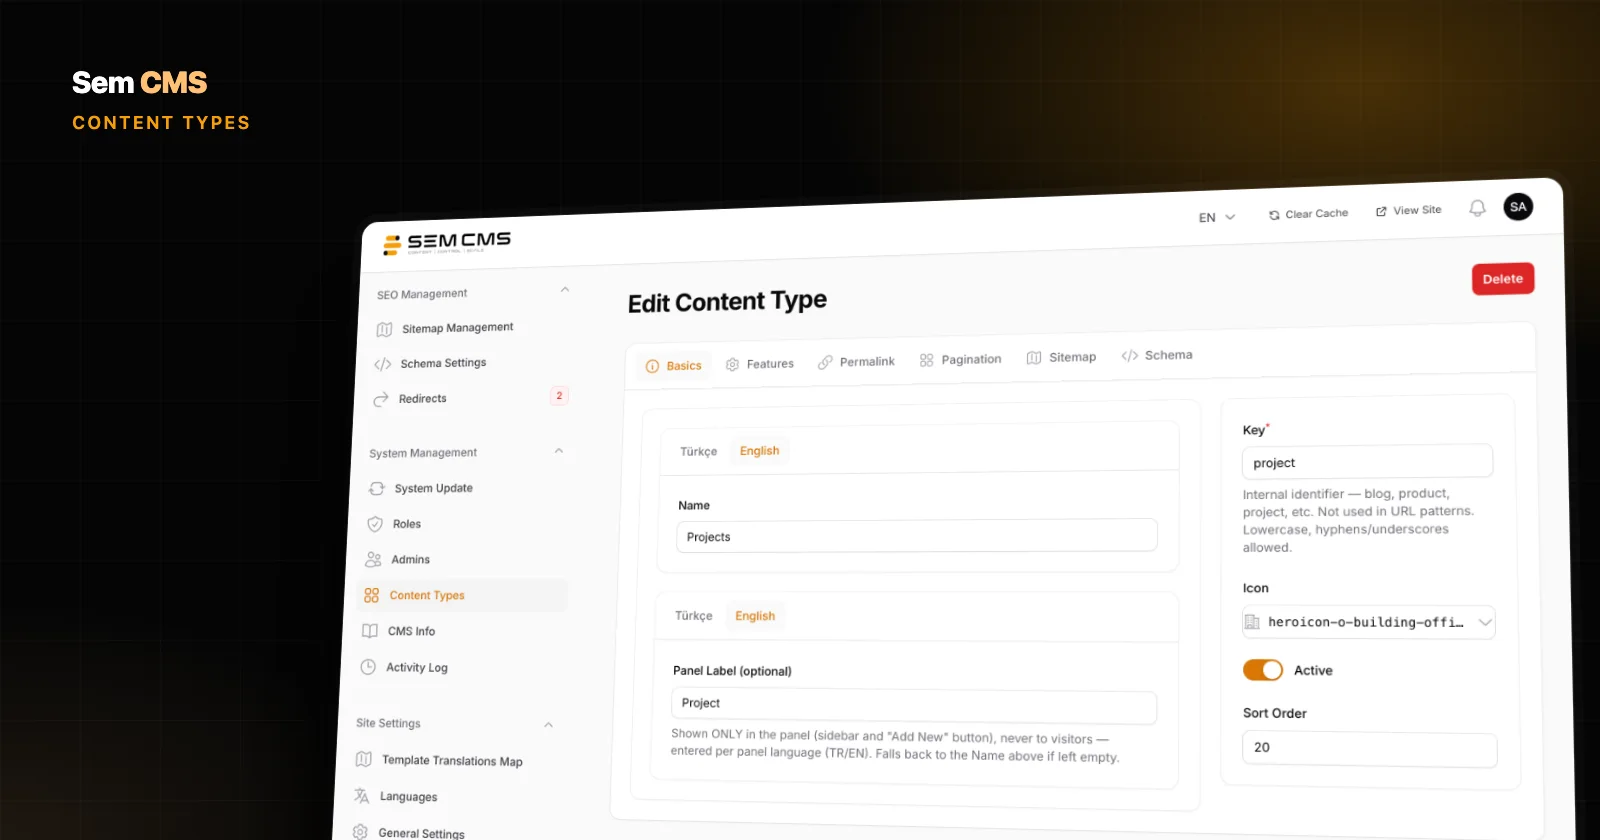
Keep your old URL structure. Each content type's URL pattern is defined per language with variables such as {{ slug }} and {{ category_slug }}. If your old site used a structure like /blog/post-name, you can rebuild exactly that pattern and keep the number of redirects to a minimum. The default language is served without a URL prefix.
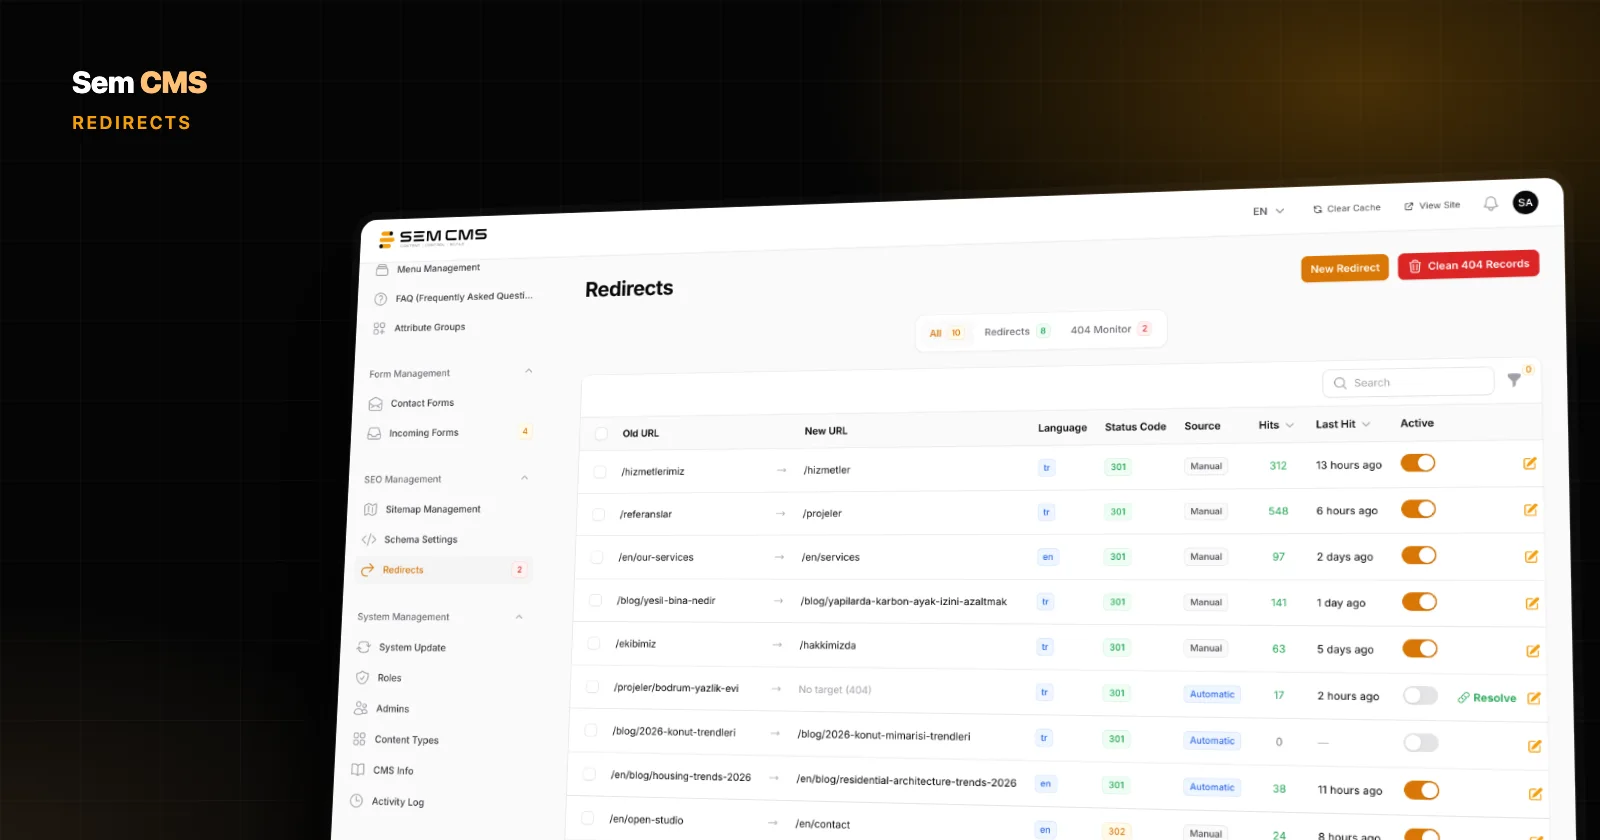
Enter your mapping as redirects. Old URLs whose address changes go into the Redirects screen as manual 301s. Leave the language empty and a record applies in every language; the notes field can record which mapping a redirect came from. Entering a target that would create a loop triggers a warning; to avoid chains, point every old URL straight at its final destination.
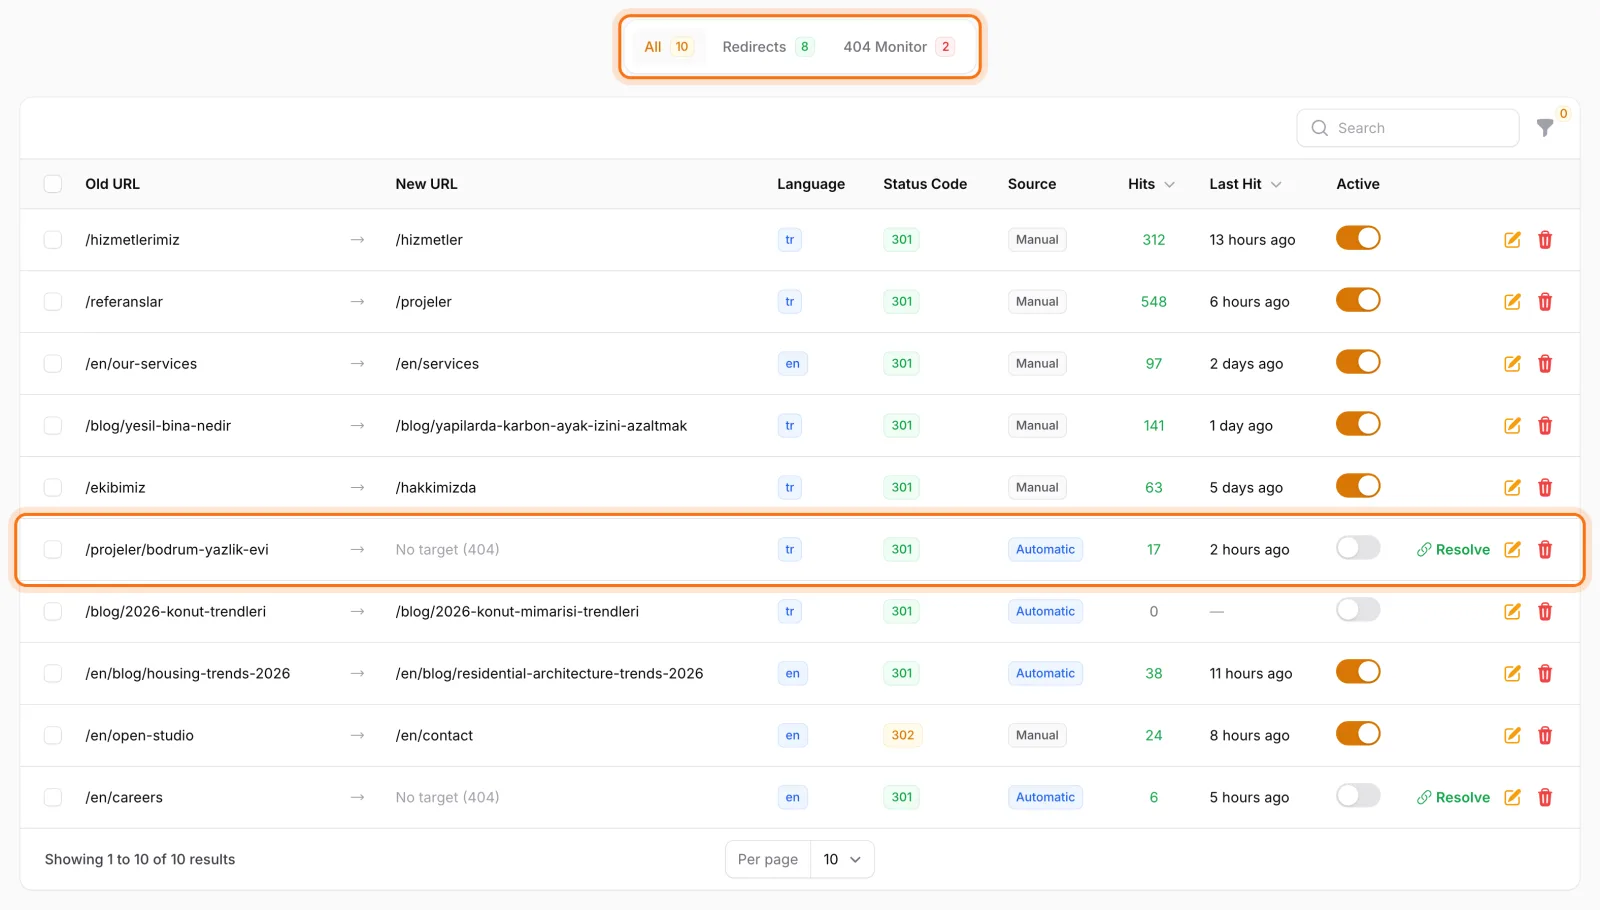
Catch the URLs you missed after launch. 404s hit by real visitors appear in the same list with hit counts, while junk URLs probed by bots and security scanners are never logged. The most requested broken URL sits at the top, and the Resolve button turns it into a redirect in one step. Hit counts on every redirect also show which old URLs are still pulling in traffic.
Carry metadata over per language. Each item's SEO tab has its own meta title and meta description for every language, with the robots setting and the exclude-from-sitemap option on the same tab.
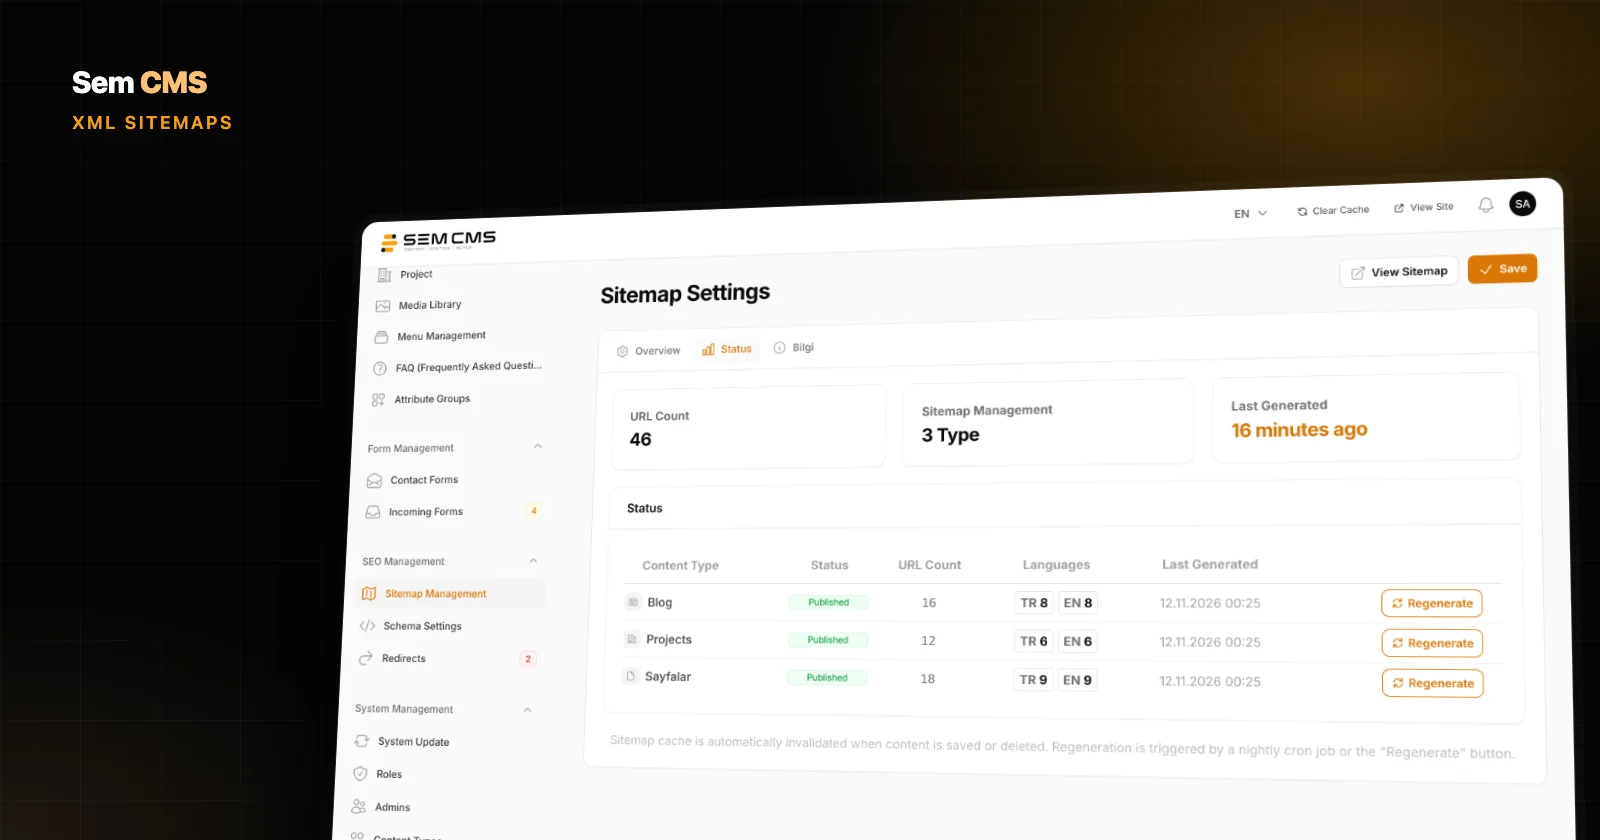
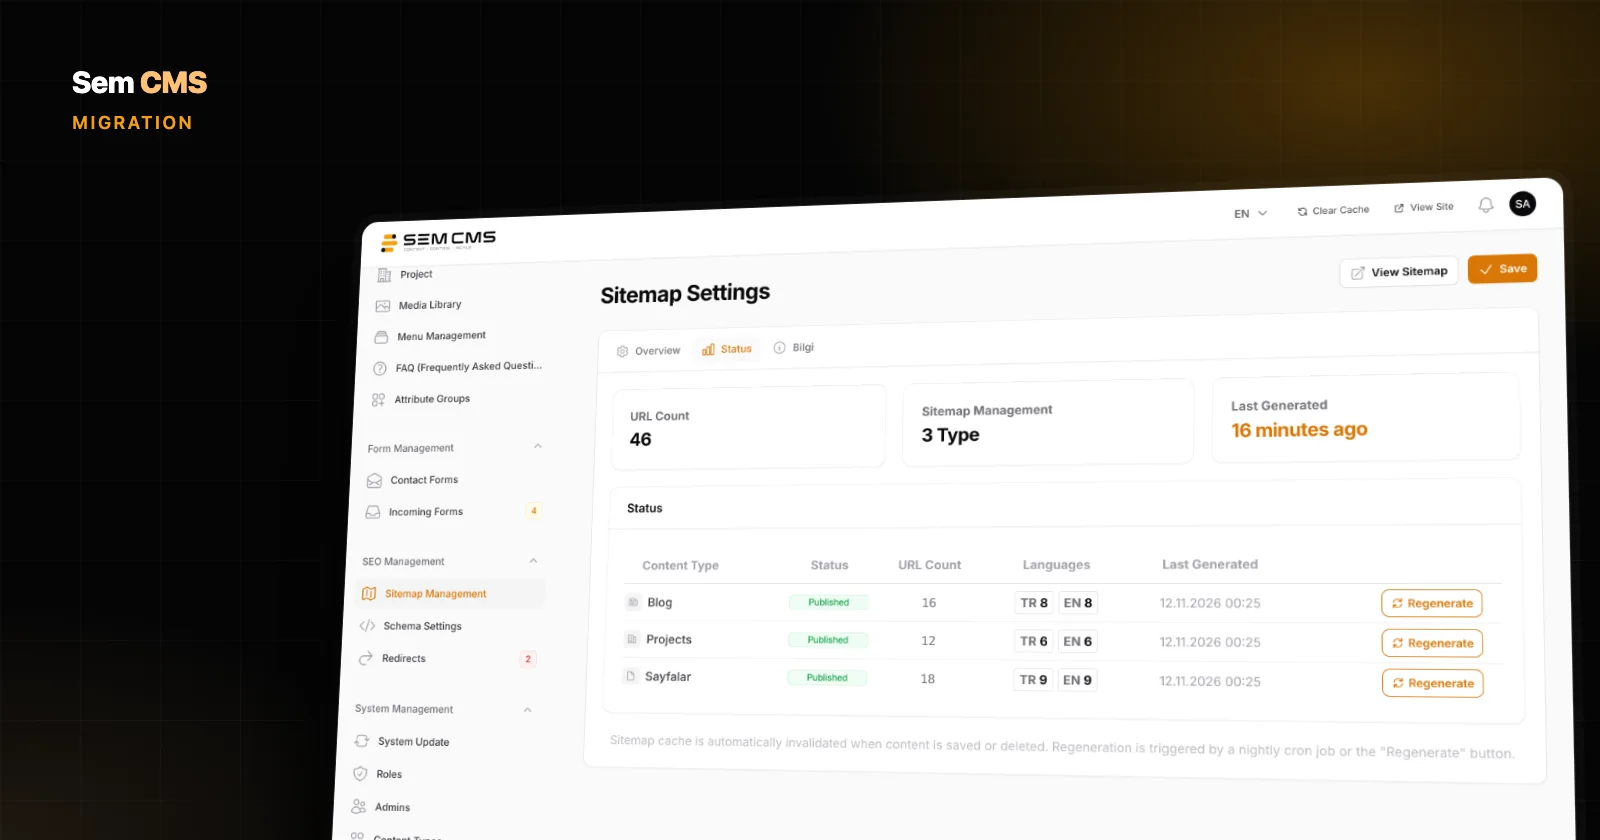
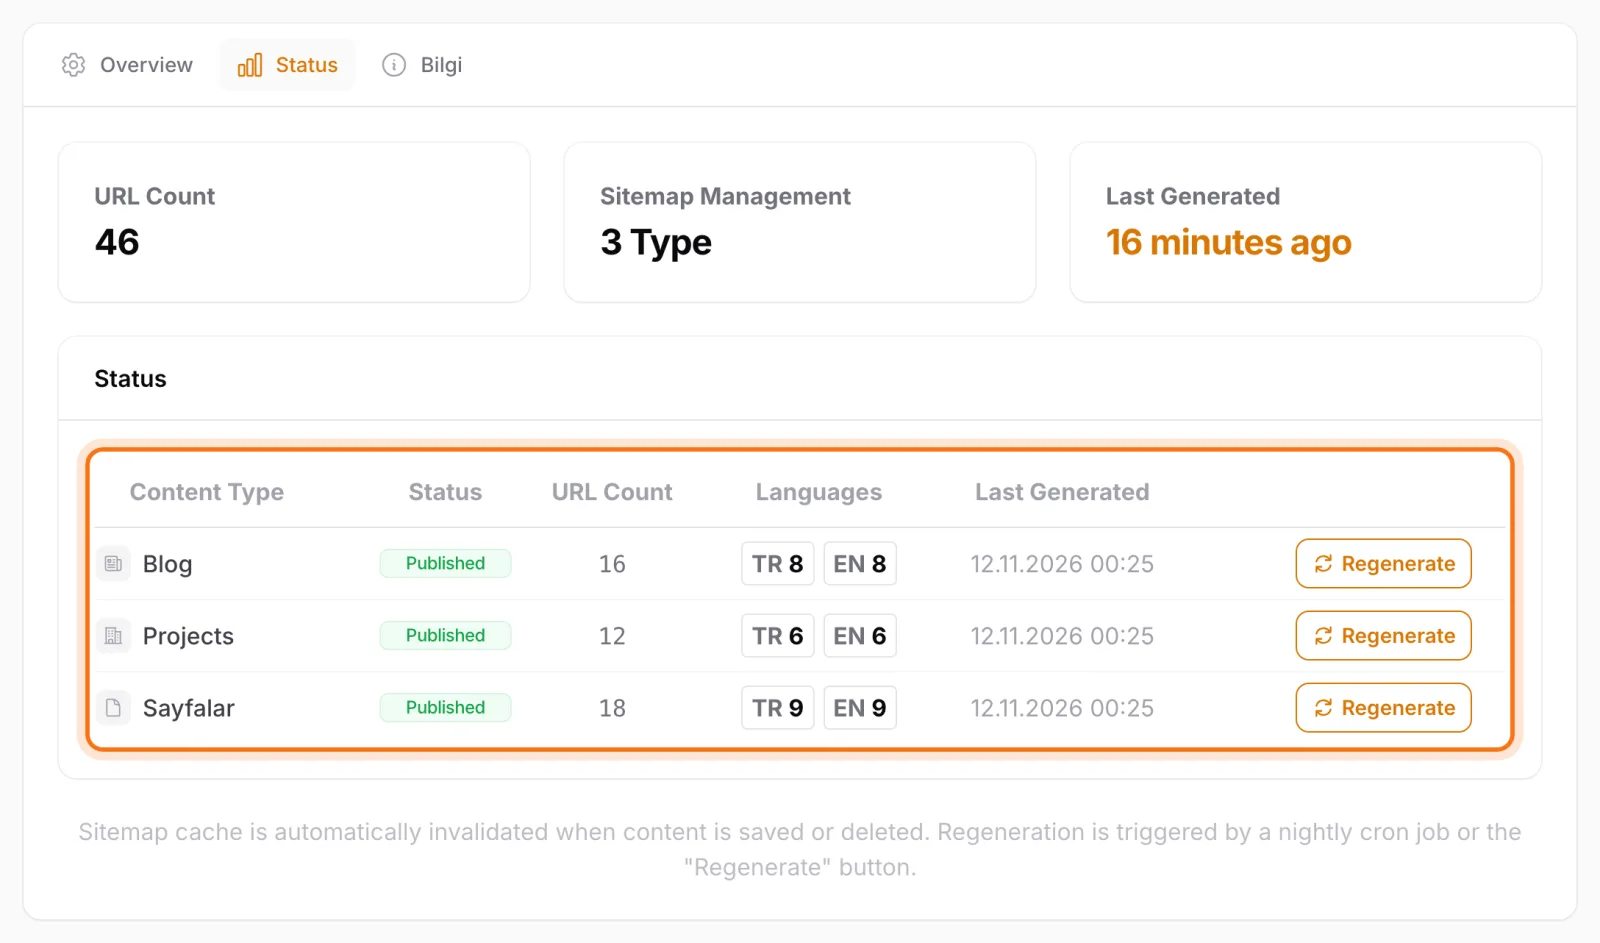
Sitemaps and robots.txt are ready out of the box. XML sitemaps are generated separately for each language. When an item is saved or deleted, the affected file is rebuilt on the next request, and a single panel button regenerates every sitemap. The status table on the Sitemap screen shows URL counts and when each file was last generated. robots.txt is generated dynamically, blocks the admin panel path and points to your sitemap.
One URL format. Canonical and hreflang URLs are always built with the site's main domain and protocol. Requests to the www or non-www twin of the main host get a 301 to the main address, and outside requests for /index.php copies are 301'd to the clean URL.
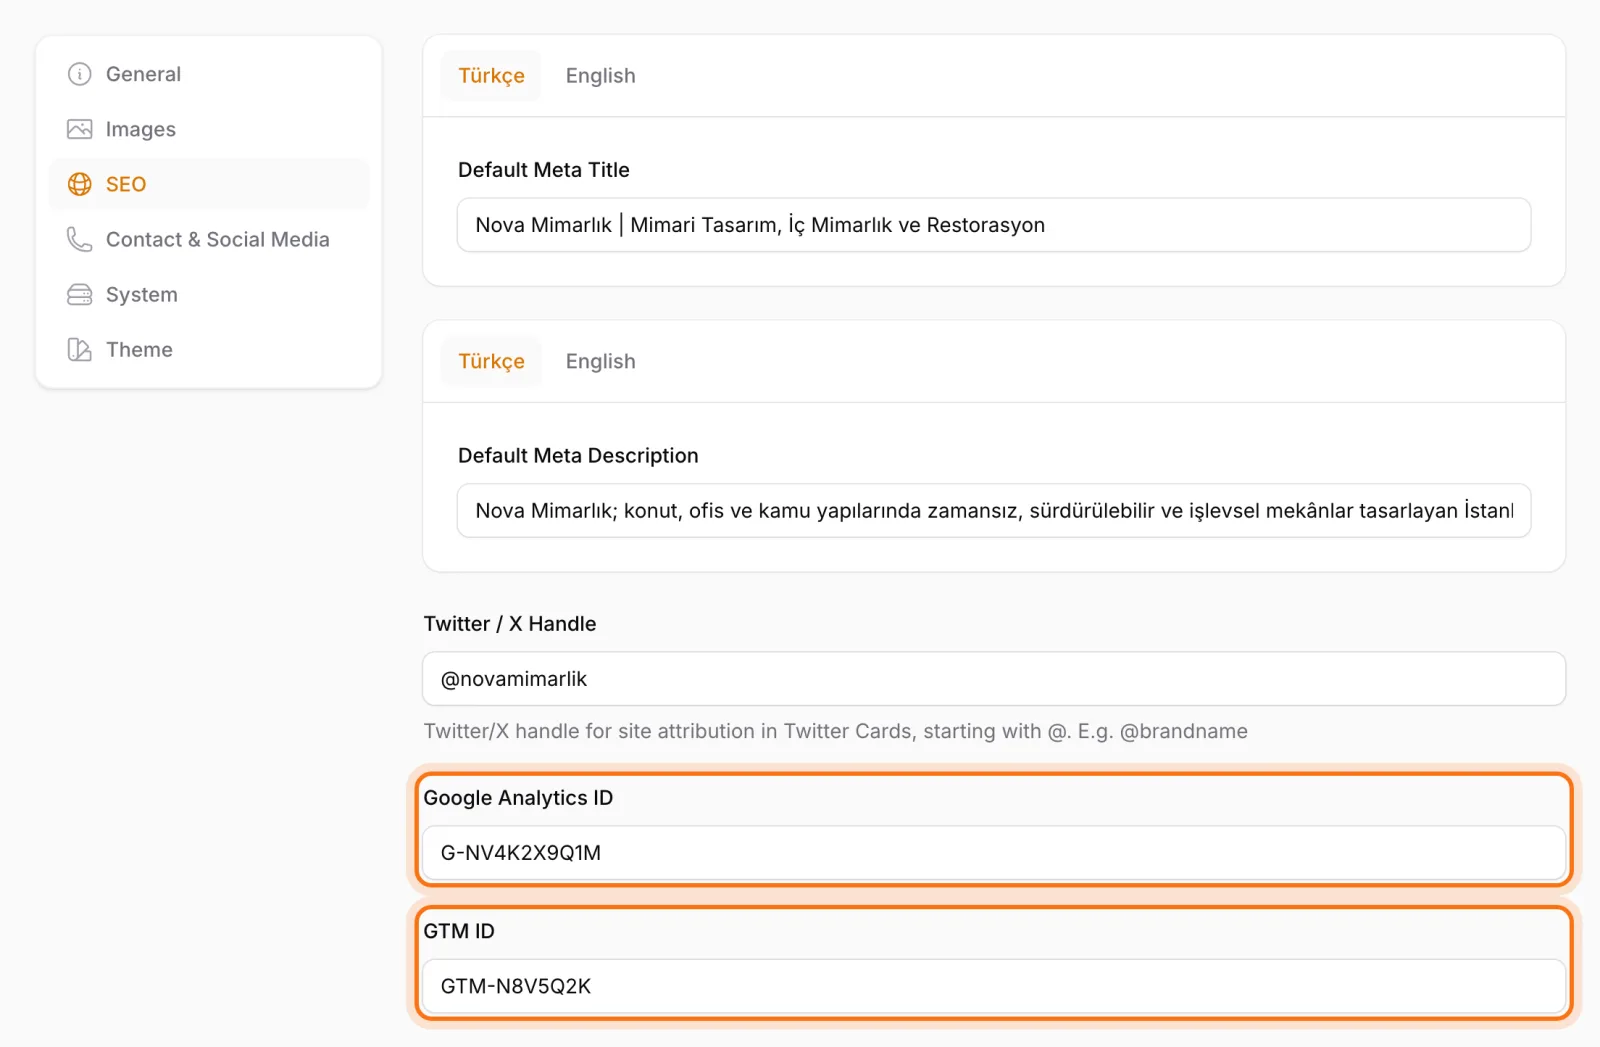
Verification and tracking. The SEO tab in Settings takes your Google and Bing site verification codes, your GA4 measurement ID and your Google Tag Manager ID. If Tag Manager is set, only that loads, so you never end up with two tracking setups firing at once.
Bottom line: a migration is a URL project, not a design project
A successful migration comes down to the mapping you prepare before launch and the monitoring you keep up afterwards. List your old URLs, connect each one to the right new URL with a 301, check the technical signals on launch day and keep an eye on 404s. With a system that supports those steps, losing traffic isn't inevitable.
Learn which redirect to use in 301 vs 302 redirects, see how Sem CMS manages URLs in CMS redirects and custom URLs, and read about sitemaps in automatic XML sitemaps. Explore everything on our Features page or request a demo to talk through your migration.